
 English
 中文简体
 Español
Industry News
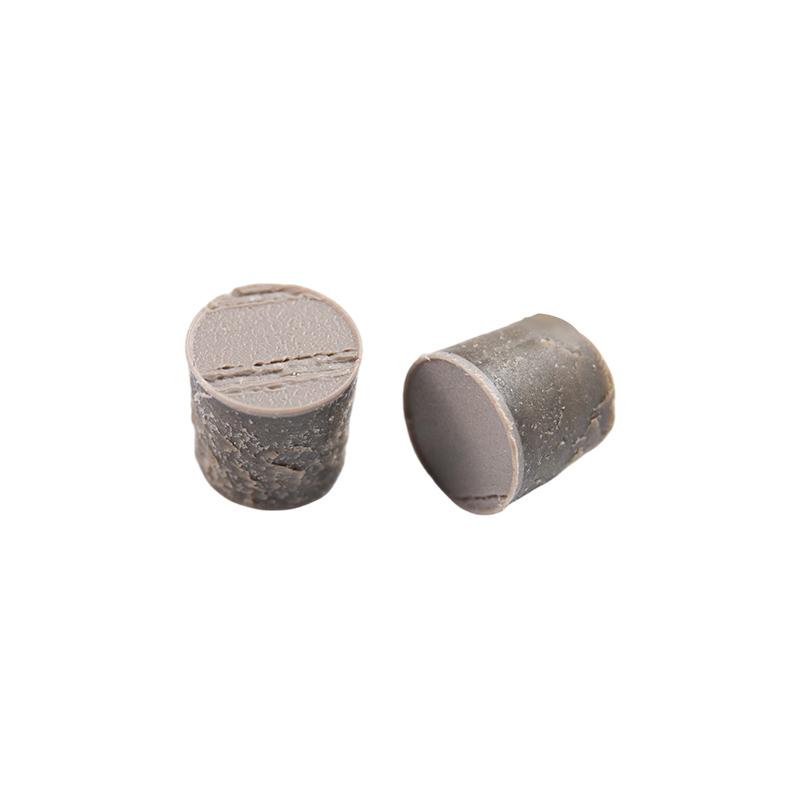
 Custom Stainless Steel and Carbon Steel Decking ScrewsSized to sit flush below the panel surface, these anti-corrosion screws suit outdoor installs exposed to rain and humidity, keeping fastenings secure for years.View Product →
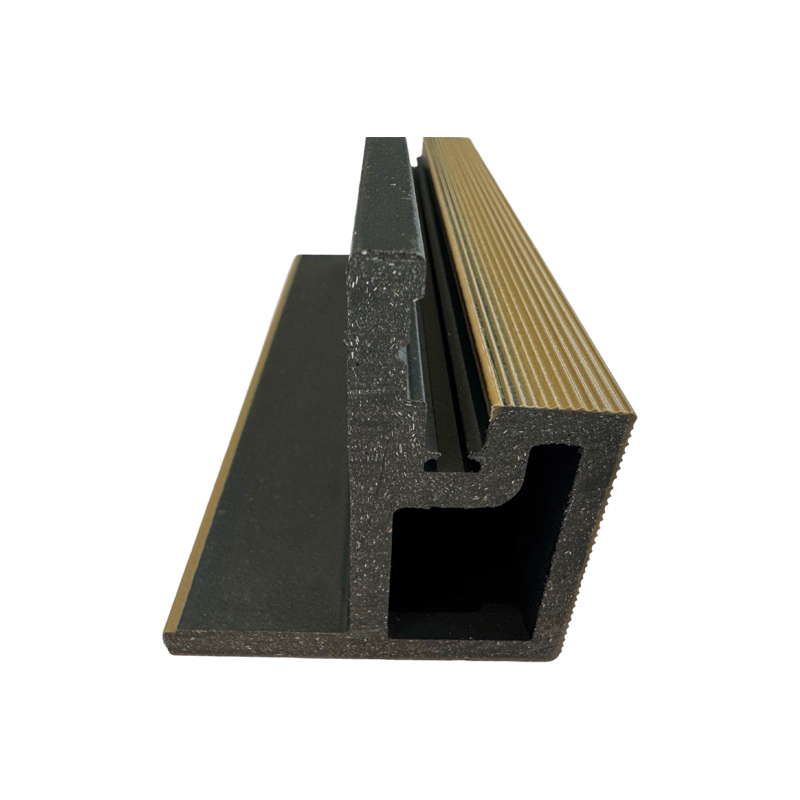
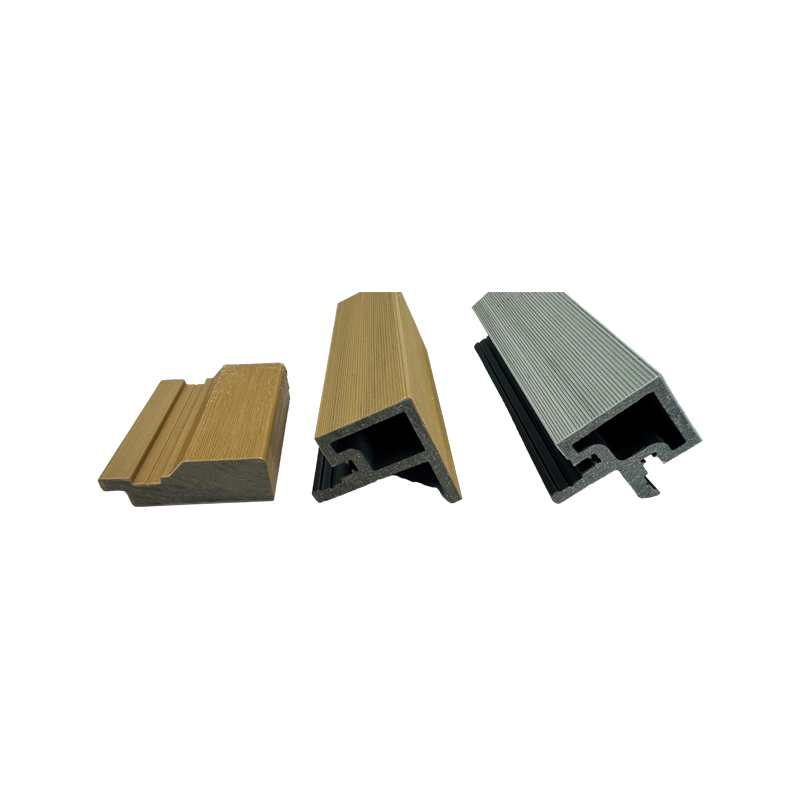 Custom Wall Panel Corner AccessoriesMatching corner trims cover raw edges and hide expansion gaps at corners and open panel ends, available in sizes for thin, thick, and curved panels.View Product →
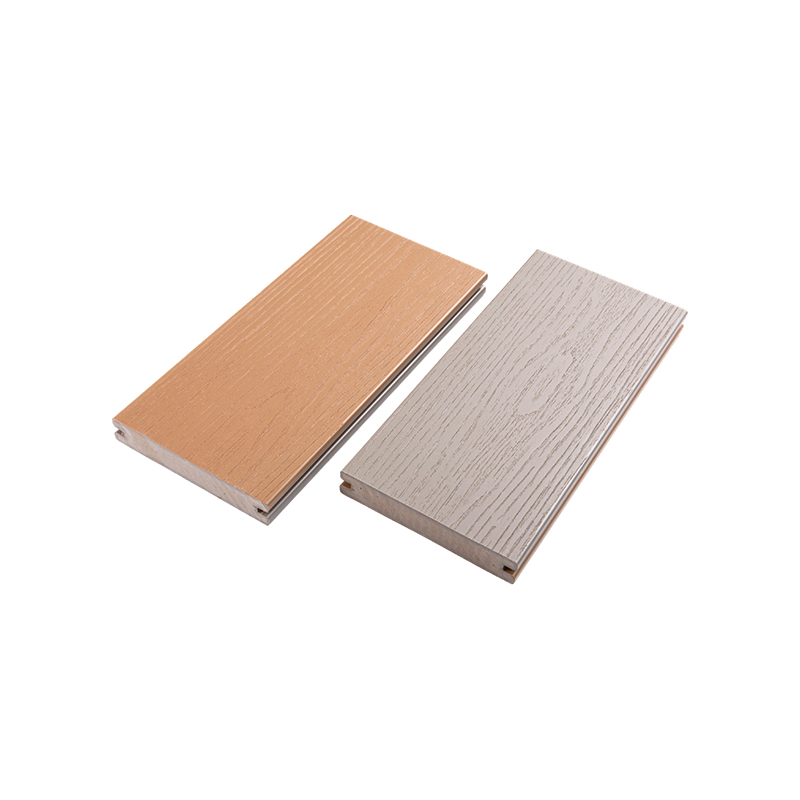
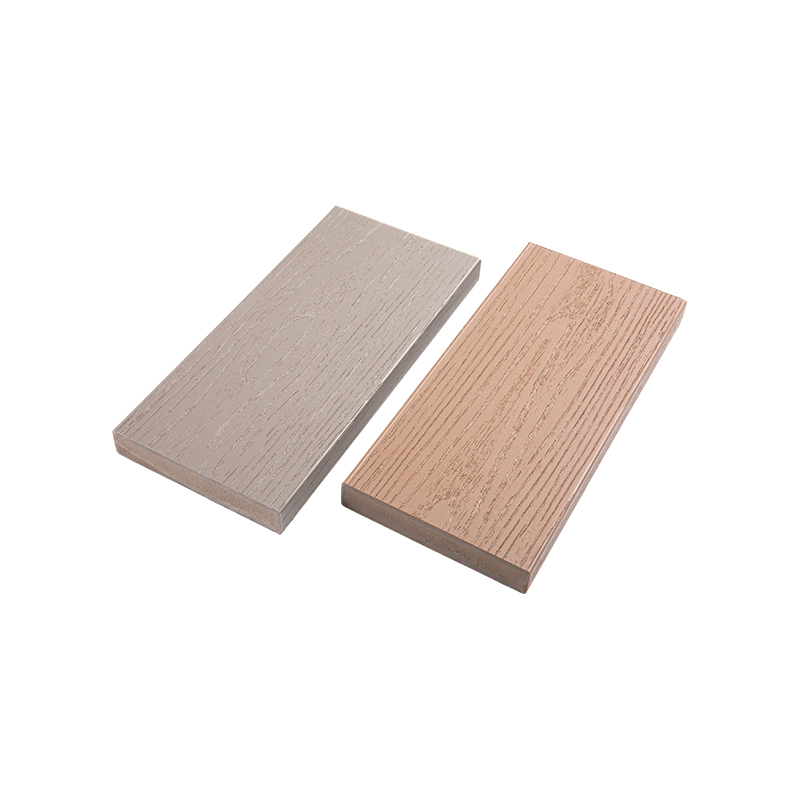
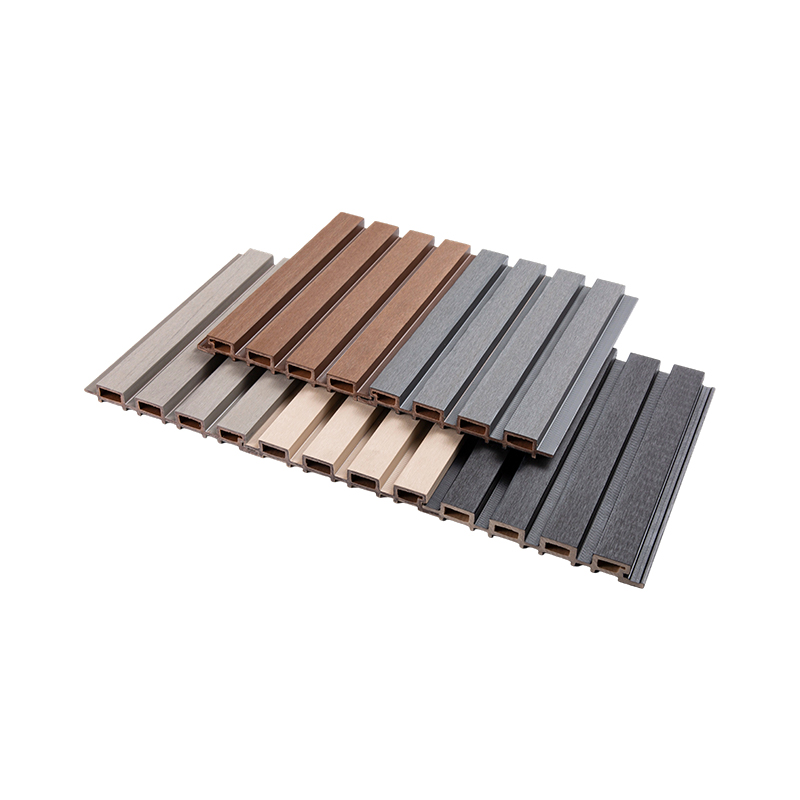 ASA Fluted 3D Wood Grain Wall PanelsThese co-extruded fluted panels combine realistic wood grain with waterproof, UV-resistant durability, making them a practical pick for humid rooms and more.View Product →
How to Install Fluted Wall Panels?
Content
Fluted wall panels are installed by bonding them to a clean, flat, sound wall with high-strength construction adhesive, backed up where possible by nails or screws, then finishing the edges with matching corner and end trims. The whole job comes down to five steps: prepare the surface, plan the layout, cut the panels and any outlet openings, apply adhesive in controlled beads, and press each panel into place before securing its top edge. No framework is required for most interior walls, because flat drywall, plaster and plywood all work as substrates.
Done carefully, a single accent wall is a realistic weekend project for a confident DIYer, and a two-person crew can finish a standard feature wall in a few hours once the first panel is set plumb. The details below cover the tools, the tolerances, and the small decisions that separate a seamless result from a wavy one.
Tools and Materials for the Job
Nothing on this list is specialized, but two items are worth choosing deliberately: the adhesive and the fasteners. Use a high-grab interior construction adhesive rated for the panel material, and match the fasteners to the substrate, which means coarse-thread screws into timber studs or suitable anchors over masonry.
- Tape measure, spirit level or laser level, and a chalk line
- Fine-tooth hand saw, circular saw or miter saw, plus a utility knife
- High-grab construction adhesive and a caulking gun
- Finishing nails or screws, with a drill or driver
- Straightedge for checking wall flatness, and spacers for the expansion gap
- Safety glasses and a dust mask for cutting
Fasteners disappear into the flutes on a finished wall, so their heads should sit just below the surface. Screws sized to the panel thickness do this cleanly without crushing the profile.
Custom Stainless Steel and Carbon Steel Decking ScrewsSized to sit flush below the panel surface, these anti-corrosion screws suit outdoor installs exposed to rain and humidity, keeping fastenings secure for years.View Product →Prep the Wall and Plan the Layout First
Adhesive only bonds where it touches, so surface preparation decides whether the installation lasts. Wash the wall to remove dust and grease, sand back glossy paint, fill cracks and holes, and check flatness with a straightedge. Bumps more than a couple of millimeters proud of the surface should be sanded or skimmed, because high spots will telegraph straight through the panel face.
Let the panels acclimate in the room for 24 to 48 hours before cutting. Panel materials expand and contract with temperature and humidity, and acclimation limits movement after installation. While the panels settle, measure the wall and set aside 5 to 10 percent extra material for offcuts and mistakes.
For layout, decide whether to start from an inside corner, which hides the cut edge of the first panel, or from the center of the wall if you want the flutes perfectly symmetrical. Snap a vertical plumb line at your starting point, mark the stud positions along it, and flag every outlet and switch box so the cutouts land exactly where they belong.
The Five-Step Installation Process
With the wall marked and the panels acclimated, the installation itself moves quickly. Work one panel at a time and confirm alignment before the adhesive skins over.
- 1
Prep the surface
Clean the wall, sand back glossy paint, fill defects, and confirm flatness with a straightedge before any adhesive comes out of the tube.
- 2
Mark the layout
Snap a vertical plumb line at your starting point, mark the stud positions behind it, and flag every outlet and switch location.
- 3
Cut panels and openings
Cut each panel to height with a fine-tooth blade, then cut outlet openings with a jigsaw or multi-tool, drilling relief holes at the corners first.
- 4
Apply adhesive and press home
Run controlled beads of adhesive up the back of the panel, align it with your guide line, press it firmly to the wall, and tap across the face with a rubber mallet over a scrap block to bed it evenly.
- 5
Secure and finish
Fix the top edge with nails or screws into the studs while the adhesive cures, keep a small expansion gap at the ceiling and floor, and cover raw edges with matching trim.
The pattern of the adhesive matters as much as the amount. Vertical beads suit most standard installations and make alignment easier to adjust; an S-shaped pattern spreads the load across wider or heavier panels and grips better on slightly uneven walls. Whichever you choose, leave enough space between the beads for the adhesive to spread without flooding the flutes.
Two common adhesive patterns applied to the back of a panel before pressing it to the wall.
Inside corners, outside corners and open panel ends are where a fluted wall either looks finished or homemade. Matching corner accessories clip or glue over the raw edges, keep the flutes visually aligned, and hide the small expansion gaps left at the ceiling and skirting.
Custom Wall Panel Corner AccessoriesMatching corner trims cover raw edges and hide expansion gaps at corners and open panel ends, available in sizes for thin, thick, and curved panels.View Product →Adhesive Only, Adhesive Plus Fasteners, or a Batten Frame?
Most residential installs use adhesive with mechanical fasteners, but the right fixing method depends on the wall behind the panels and the weight of the panels themselves.
| Fixing method | Best suited to | Key advantages | Points to watch |
|---|---|---|---|
| Adhesive only | Flat, sound interior walls with lightweight panels | Invisible fixing and the fastest install | The panel can creep before the adhesive cures; the substrate must be perfect |
| Adhesive plus fasteners | Most DIY accent walls and heavier panels | Fasteners hold the panel during curing and the heads hide in the flutes | Fasten into studs or use correct anchors; keep heads below the surface |
| Batten or furring frame | Uneven masonry, damp-prone walls, commercial fit-outs | Creates a level substrate and leaves space for cabling behind | Adds 20 mm or more of depth, plus extra material and labor |
If the wall is in good condition, adhesive plus a fastened top edge gives the best balance of holding power and clean looks for a first-time installer.
Which Panel Material Should You Choose?
Fluted panels come in several material families, and the choice affects both installation and placement. PVC and ASA panels shrug off humidity, which makes them the practical pick for bathrooms, kitchens and laundry rooms; ASA surfaces in particular hold their color and finish under UV exposure. Wood-plastic composite panels feel denser underfoot of the hand and suit covered outdoor or high-traffic areas. MDF fluted panels are the budget option for dry interior accent walls, but they will swell if they get wet, so keep them away from steam.
ASA Fluted 3D Wood Grain Wall PanelsThese co-extruded fluted panels combine realistic wood grain with waterproof, UV-resistant durability, making them a practical pick for humid rooms and more.View Product →
You can compare flute depths, wood-grain finishes and profiles across the full wall panels and decorative panels range before committing to a material, or contact our team for specification advice on a specific room or commercial project.
Six Mistakes That Ruin a Fluted Panel Wall
Most failed installations trace back to one of six avoidable errors, and every one of them is caught during prep rather than after the adhesive has cured.
Skipping surface prep
Dust and glossy paint stop adhesive from gripping. Clean and dull the surface before anything else.
Starting off-plumb
Every following panel repeats the error. Snap a plumb line and level the first panel before moving on.
Ignoring expansion gaps
Leave a few millimeters at the ceiling and floor so seasonal movement cannot buckle the panels.
Over-applying adhesive
Excess squeezes into the flutes and is hard to remove. Use controlled beads instead of full coverage.
Wrong blade choice
Coarse blades chip the flute edges. Use a fine-tooth blade and support the offcut while cutting.
Cutting outlets after mounting
Measure, transfer and cut every opening before the panel touches the wall, never after.
Frequently Asked Questions
Can fluted wall panels go straight onto drywall?
Yes, if the drywall is flat, clean and structurally sound. Use construction adhesive plus fasteners driven into the studs for the most secure hold, and confirm the surface with a straightedge first.
When do I need furring strips behind the panels?
Only when the wall is visibly uneven, damp, or built from masonry. A batten frame creates a level substrate and leaves room for cabling, but it adds depth to the finished wall and increases material cost.
How do I cut openings for outlets and switches?
Mark the box positions on the panel, drill a relief hole in each corner, then cut with a jigsaw or oscillating multi-tool before the panel is mounted, never after.
Are fluted panels suitable for bathrooms and kitchens?
PVC and ASA panels handle humidity well as long as the edges are sealed with trim or silicone. MDF panels should stay in dry interior spaces.
How should fluted panels be cleaned after installation?
Wipe along the flutes with a soft cloth and mild soapy water. Avoid abrasive pads and solvent-based cleaners, which can dull the surface finish.
References
- Fluted panel and wall cladding manufacturer installation guides
- Construction adhesive manufacturer technical data sheets
- Trade installation handbooks for interior wall panelling

An interior and exterior panel company dedicated to the environmental protection technology research of recyclable materials.
Address
- No. 18, Dexing Road, West District, Guangde Economic Development Zone, Xuancheng City, Anhui Province, China
Quick Menu
Get in Touch
Copyright ©Anhui Airuites New Material Co.,Ltd. All Rights Reserved. Privacy Custom Recyclable Indoor And Outdoor Panels Manufacturer
