
 English
 中文简体
 Español
Industry News
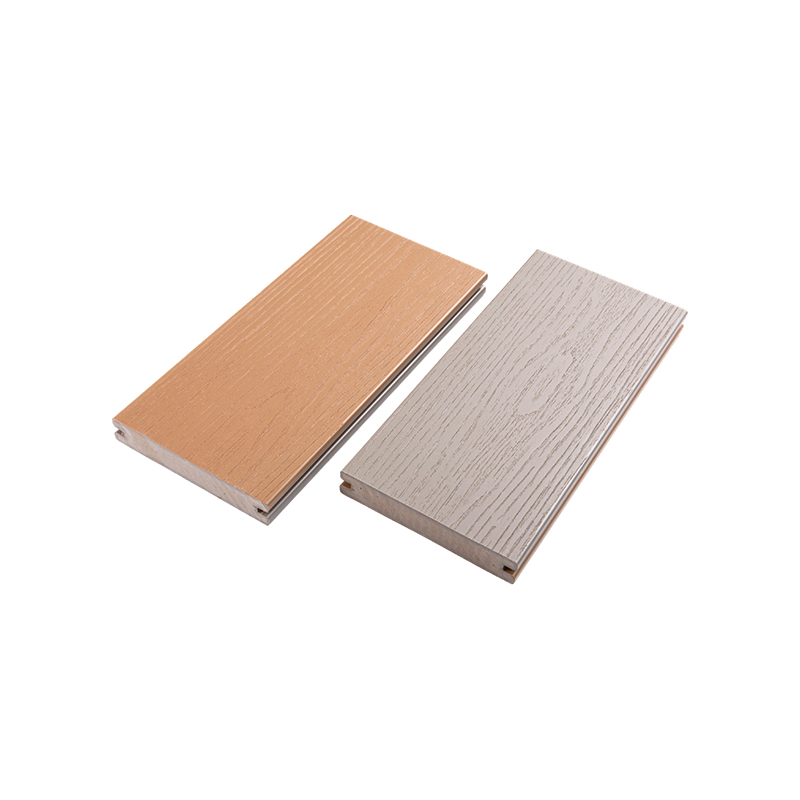
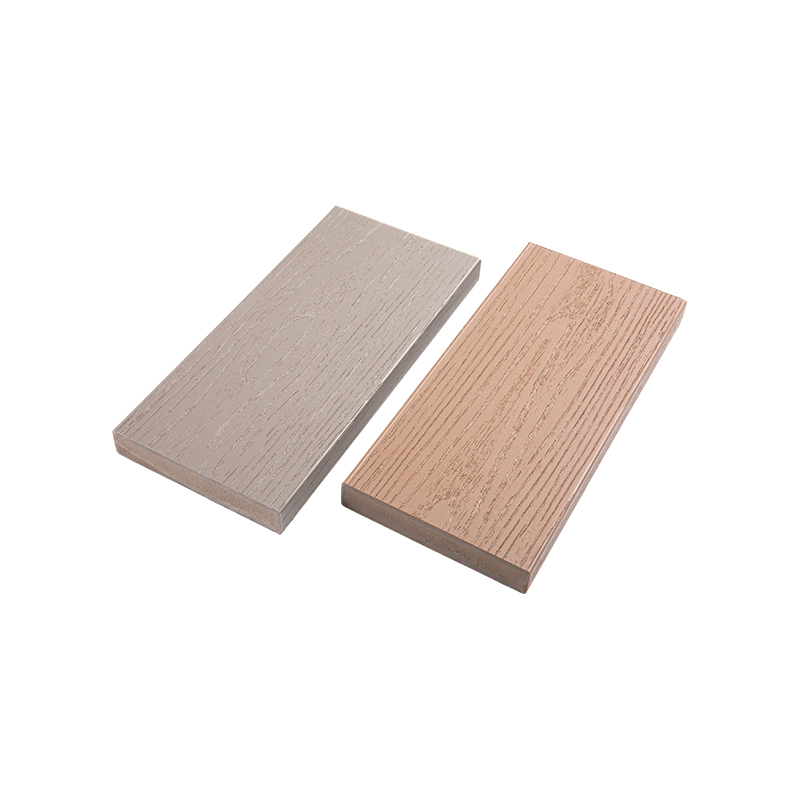
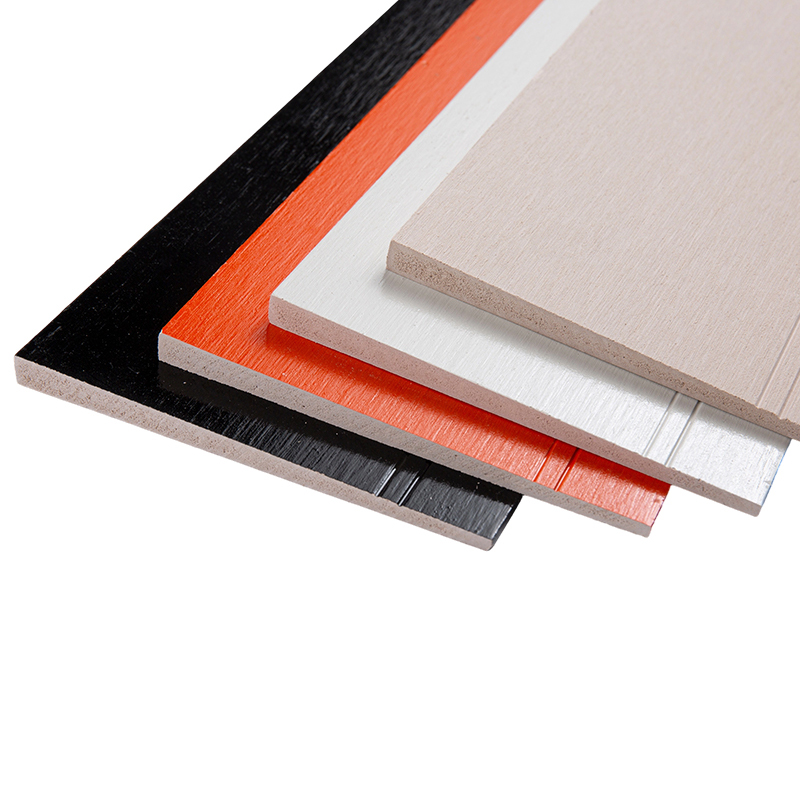 WPC Wall Panels with Natural Wood Texture and Weather ResistanceThese composite wall panels suit exterior walls in humid areas, offering waterproof, fireproof, and insect-resistant performance while retaining a natural wood look.View Product →
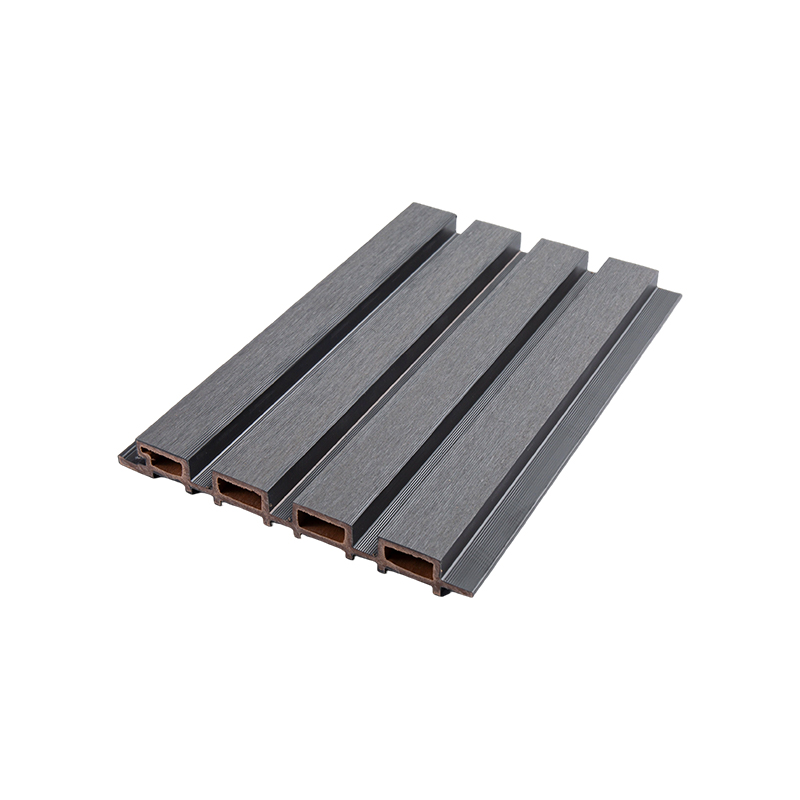
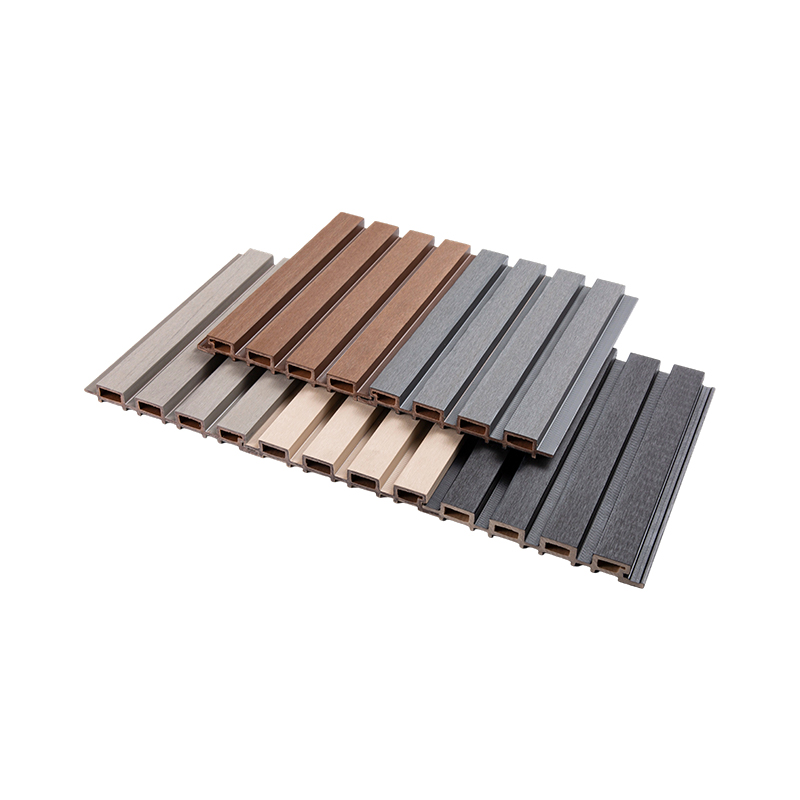 ASA Co-Extruded Fluted Wall Panels for Hidden FixingFeaturing a fluted profile and co-extruded multi-layer build, these panels simplify alignment during adhesive, furring strip, or clip installations and resist UV and moisture.View Product →
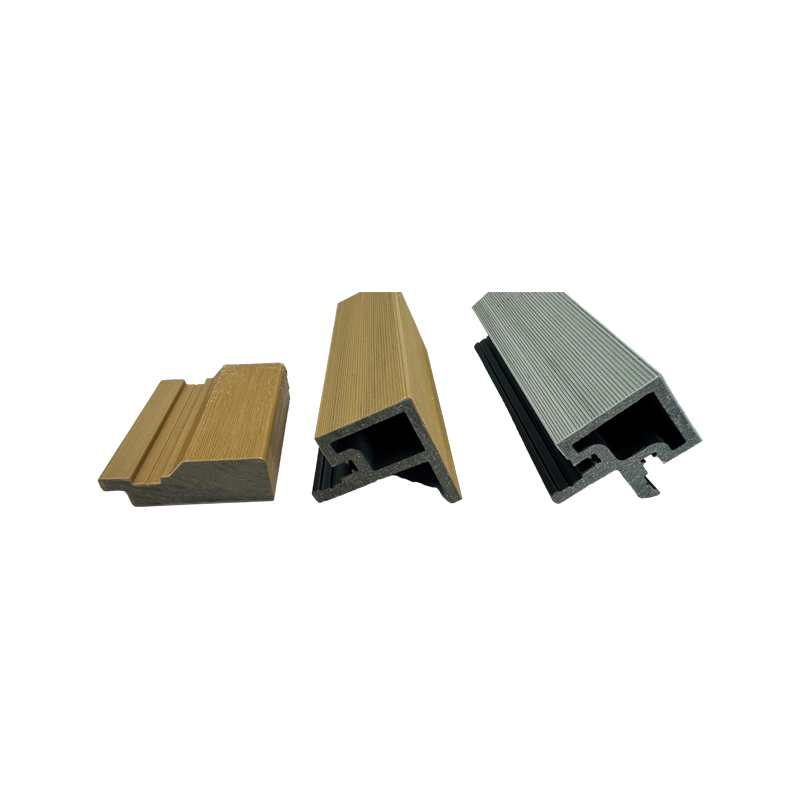 Corner Trim Accessories for WPC Wall PanelsA range of corner fittings in various sizes and shapes ensures neat, stable finishing for thin, thick, or curved panels, helping complete the installation cleanly.View Product →
How to Install WPC Wall Panels: Step-by-Step Guide for a Flawless Finish
Content
- 1 Why WPC Wall Panels Are Worth Installing
- 2 Tools and Materials You'll Need
- 3 Step 1: Prepare the Wall Surface
- 4 Step 2: Plan Your Layout
- 5 Step 3: Cut the Panels
- 6 Step 4: Choose Your Installation Method
- 7 Step 5: Install the Panels
- 8 Step 6: Install Trims, Corners, and Edge Profiles
- 9 Step 7: Finish and Clean Up
- 10 Common Mistakes to Avoid
- 11 Maintenance and Care
- 12 Final Thoughts
Installing WPC (wood-plastic composite) wall panels is a manageable weekend project for most DIYers, provided you choose the right panel system, prepare the substrate properly, and follow a consistent installation sequence. WPC wall panels combine wood fiber and thermoplastic into a durable, moisture-resistant cladding that suits living rooms, bedrooms, balconies, and commercial spaces. The key to a flawless finish is simple: keep the layout squared, use the approved adhesive or mechanical fasteners, and allow the panels to expand and contract as designed. This guide covers the full process—from surface preparation and cutting to adhesive and screw methods, edge trimming, and maintenance—so you can install your panels with confidence.
Why WPC Wall Panels Are Worth Installing
WPC panels have become popular because they outperform bare MDF, plywood, and even natural timber in high-humidity zones. They resist warping, swelling, and fungal attack, and they never need staining or sealing. WPC is also an environmentally friendly choice because it uses recycled wood fiber and plastic feedstock, cutting down on landfill waste.
- Moisture resistant and dimensionally stable
- Low maintenance—no painting, sealing, or sanding
- Available in fluted, grooved, and 3D wood-grain finishes
- Easy to install with adhesive, screws, or clip systems
- Lightweight compared to solid wood or cement board
WPC Wall Panels with Natural Wood Texture and Weather ResistanceThese composite wall panels suit exterior walls in humid areas, offering waterproof, fireproof, and insect-resistant performance while retaining a natural wood look.View Product →Tools and Materials You'll Need
Assemble everything before you start so the work flows without interruptions. Most of these are already in a well-stocked toolbox.
- Measuring tape, level (600 mm and 2000 mm for accuracy), pencil, and chalk line
- Circular saw or miter saw with a fine-tooth carbide blade for clean cuts
- Jigsaw for outlets and irregular cutouts
- Drill/driver, construction adhesive, notched trowel, caulk gun
- Screws and furring strips if using the frame method
- Spacers (3-5 mm), rubber mallet, clamps
- Safety glasses, dust mask, and work gloves
Step 1: Prepare the Wall Surface
A smooth, clean base is non-negotiable. Remove wallpaper, flaking paint, or loose plaster, and fill any holes or cracks with an appropriate filler. Scrape and sand until the surface is flat. Wipe away dust with a damp cloth and let the wall dry completely.
If the wall is damp or has a history of moisture, install a moisture barrier or use a ventilated furring system instead of direct gluing. Always check for flatness with a straight edge or level; deviations larger than about 3 mm over 1 m should be corrected before installation.
Step 2: Plan Your Layout
Measure the wall height and width to calculate how many panels you need. Decide whether to run the panels vertically or horizontally. Vertical panels emphasize ceiling height, while horizontal panels can make a room feel wider. Common WPC panels come in widths of 150-250 mm and lengths from 2.7 to 5.8 m, but always verify your product's actual dimensions.
Use a level and chalk line to mark vertical plumb lines (or horizontal reference lines) at regular intervals. Start from a corner and work outward, leaving 3-5 mm clearance at the top and bottom for expansion. A rough layout sketch saves material and avoids awkward cuts at room ends.
Step 3: Cut the Panels
Cut WPC panels with a carbide-tipped blade on a circular saw or miter saw. A blade with 60 or more teeth minimizes chipping. Set the blade depth slightly deeper than the panel thickness. On a table saw, use a zero-clearance insert to avoid edge tearing. For curved cutouts around outlets or switches, use a jigsaw with a fine-tooth wood-cutting blade.
Always measure twice and cut once. When cutting, support the panel fully to prevent flexing. Wear a dust mask; WPC dust can irritate the nose, but it is non-hazardous in normal use. Cut panels face-up to keep the finished side clean.
Step 4: Choose Your Installation Method
Your choice of installation method depends on wall flatness, moisture conditions, and whether you may want to remove the panels later. The table below compares the three common ways to mount WPC wall panels.
| Method | Best For | Pros | Cons |
|---|---|---|---|
| Adhesive | Flat, dry interior walls | Fast, low profile, no visible fasteners | Requires flat wall; removal can damage surface |
| Screw-and-frame | Uneven or damp walls | Allows airflow, adjustable, very secure | Adds wall thickness; screws may need cap covers |
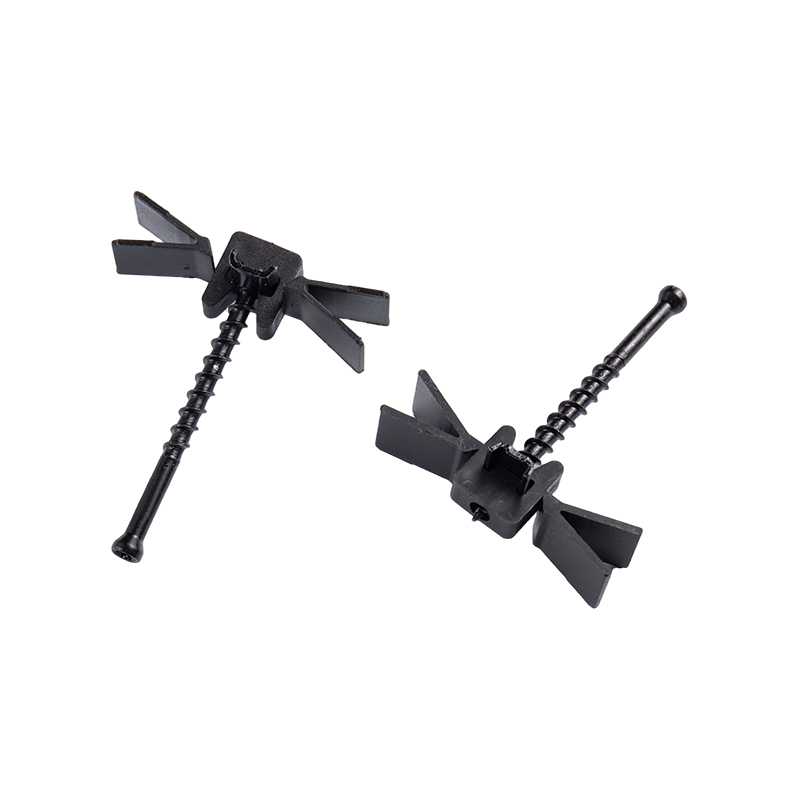
| Clip/buckle | Clean, removable installations | Hidden fixings, fast, accommodates expansion | Needs compatible panel profile and precise clip spacing |
For most indoor flat walls, adhesive is the quickest route. If the wall is uneven or damp, nail furring strips at 400-600 mm centers and screw the panels onto the strips. A clip system provides a professional hidden-fixing result and is ideal for large wall surfaces. Whichever method you choose, follow the manufacturer's instructions for spacing and fastening, and consider using a panel with a consistent profile, such as a fluted board, to make alignment easier.
ASA Co-Extruded Fluted Wall Panels for Hidden FixingFeaturing a fluted profile and co-extruded multi-layer build, these panels simplify alignment during adhesive, furring strip, or clip installations and resist UV and moisture.View Product →Step 5: Install the Panels
Now apply your chosen method. For adhesive installation, apply a continuous S-shaped bead of construction adhesive to the back of each panel, or use a notched trowel to spread a full-coverage layer. Press the panel against the wall, using the layout lines as a guide, and tap gently with a rubber mallet. Keep a level on the panel face to ensure it stays vertical or horizontal, and use temporary clamps or supports while the adhesive cures.
For the screw-and-frame method, install furring strips or metal studs first, making sure they are plumb and level. Place panels over the frame, then drive screws at the groove positions so the next panel covers the fastener head. Do not over-tighten; WPC can expand and contract, so allow a small gap around fixtures.
For a clip or buckle system, mount the starting clip or track at the base, place the panel into the clip, and continue up or across. Maintain a consistent spacer (3-5 mm) at all edges. Check alignment frequently; even a small error can compound over a series of panels.
Step 6: Install Trims, Corners, and Edge Profiles
Once the field panels are in place, finish the installation with trims that cover raw edges, outside corners, inside corners, and door or window reveals. Measure each trim piece and cut mitered corners at 45 degrees for a clean transition. Apply a thin bead of adhesive to the back of the trim and press it into position; you can also pin the trim with small nails or screws, then fill the holes with a matching putty.
At the top and bottom of the wall, leave the expansion gap and cover it with a shadow gap trim or baseboard. At outside corners, use a corner trim that wraps both sides. Inside corners can be finished with a flexible PVC angle or a simple square trim.
Corner Trim Accessories for WPC Wall PanelsA range of corner fittings in various sizes and shapes ensures neat, stable finishing for thin, thick, or curved panels, helping complete the installation cleanly.View Product →Step 7: Finish and Clean Up
After all panels and trims are installed, wipe down the surface with a soft, damp cloth to remove dust and any adhesive residue. Do not use aggressive solvents that can damage the WPC surface. Check that all panels are flush and gaps are even. Let the adhesive cure fully—typically 24 hours—before exposing the wall to heavy moisture or moving furniture against it. If you need to caulk top or bottom edges for a watertight seal, use a flexible, paintable sealant and allow it to set.
Common Mistakes to Avoid
Even experienced installers can run into problems when they rush or skip preparation. Avoid these common errors:
- Skipping wall preparation—dust, grease, or unevenness causes panels to pull away.
- Not acclimating panels to room temperature and humidity for 24-48 hours before installation.
- Forgetting expansion gaps at top, bottom, and around openings—WPC moves with temperature changes.
- Using a high-pressure adhesive that doesn't allow slight adjustment, or applying too little coverage.
- Over-tightening screws, which can dimple the surface or crack hollow profiles.
- Ignoring the first panel alignment—small errors multiply across the wall.
Maintenance and Care
WPC wall panels are designed for low maintenance. Wipe them regularly with a mild soap-and-water solution or a damp microfiber cloth. Avoid abrasive pads, bleach, or harsh solvents, which can dull the surface or break down the plastic matrix. Check trim and edging once a year for loose joints and re-adhere if necessary. In rooms with high humidity (e.g., bathrooms, kitchens), ventilate the space or use an exhaust fan to reduce moisture load that can eventually affect any wall covering.
Final Thoughts
Installing WPC wall panels is a practical upgrade that combines visual appeal with outstanding durability. Whether you glue panels directly to a flat wall, mount them on furring strips, or use a clip system, the process becomes straightforward once you plan your layout, cut carefully, and leave proper gaps for movement. The result is a beautiful interior surface that needs little more than wiping down.
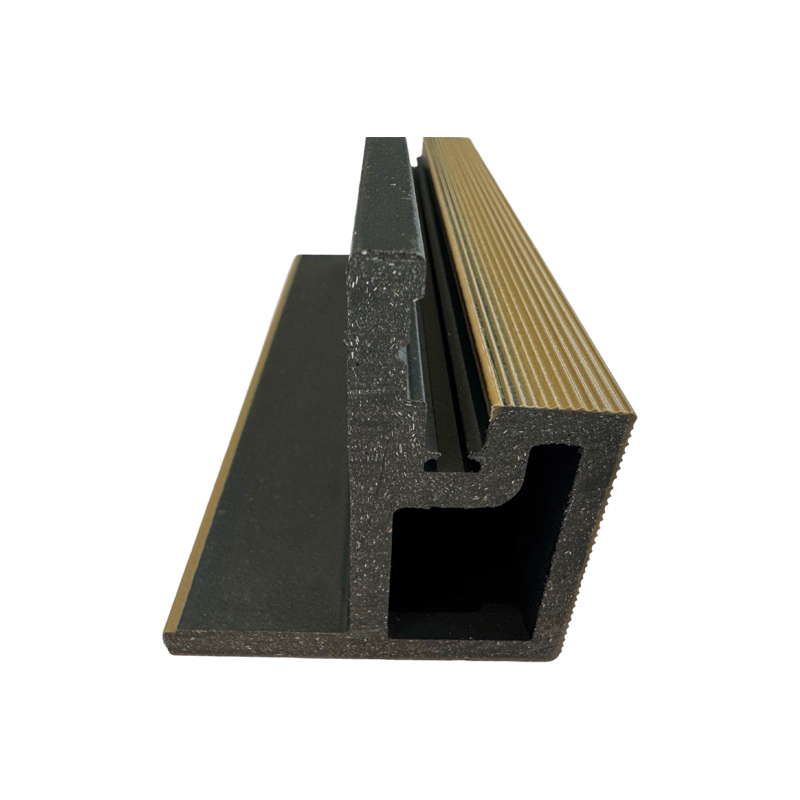

An interior and exterior panel company dedicated to the environmental protection technology research of recyclable materials.
Address
- No. 18, Dexing Road, West District, Guangde Economic Development Zone, Xuancheng City, Anhui Province, China
Quick Menu
Get in Touch
Copyright ©Anhui Airuites New Material Co.,Ltd. All Rights Reserved. Privacy Custom Recyclable Indoor And Outdoor Panels Manufacturer
